Mastering Imagine AI: A Practical 2025 Guide to Generate Stunning Images
In the age of visual content, having eye-catching images can make all the difference — whether you're creating blog headers, social media posts, posters, or concept art. But not everyone has design skills or the time for photo shoots. That’s where Imagine AI shines: a text-to-image generator that turns your words into visuals, fast.
If you want to unlock its full potential — beyond random, hit-or-miss pictures — this guide will show you how to craft effective prompts, leverage advanced settings, and build a smooth creative workflow.
What Is Imagine AI — And Why It’s Worth Trying
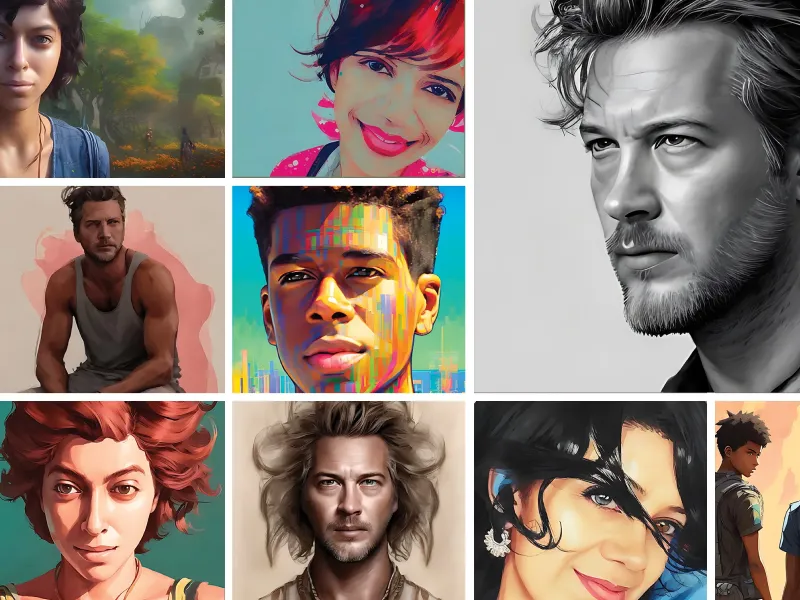
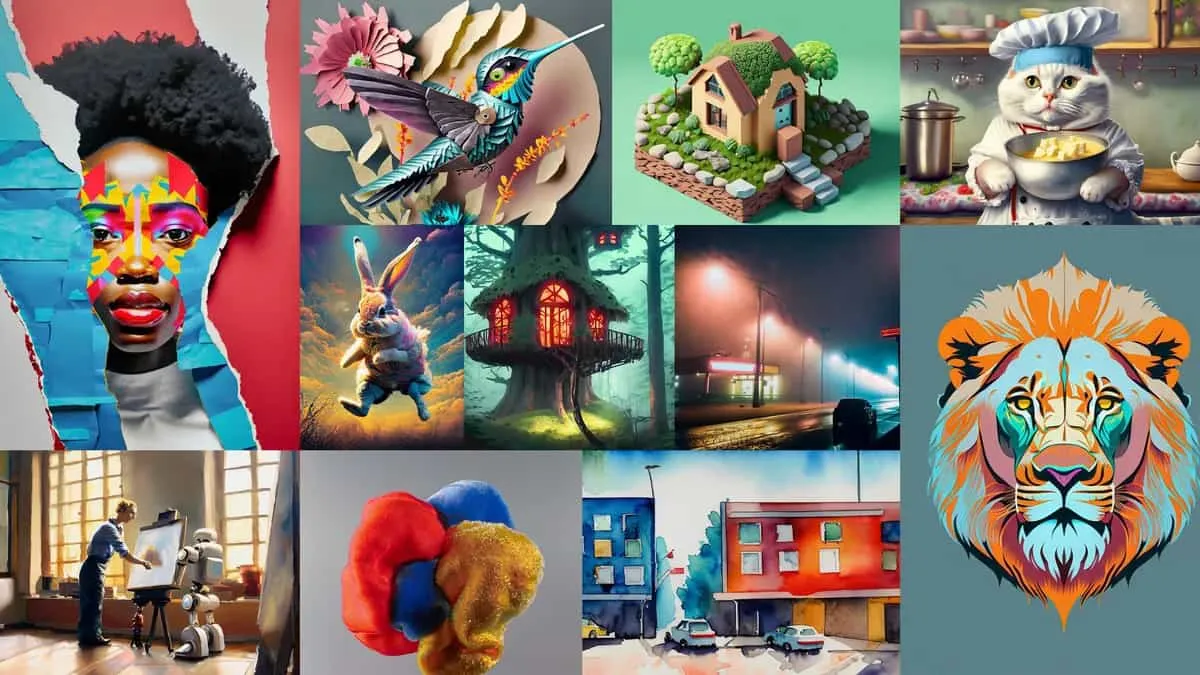
At its core, Imagine AI allows you to write a textual description (a “prompt”), and then generates an image to match. But it’s not a toy — it produces high-quality, detailed outputs that can rival stock photographs or digital art.
- Text-to-image: Describe a scene — Imagine AI paints it.
- Image-to-image: Provide an existing image and ask the AI to transform or remix it (different style, colour, mood, etc.) — ideal for variations or enhancements.
- Customizable parameters: Choose art style (e.g. photorealistic, digital painting, cartoon), adjust level of detail, lighting, colour, mood, and more.
Because the interface is simple and the process fast, Imagine AI is accessible even if you’ve never used design software.
Step 1: Set Clear Goals — What Are You Trying to Create?
Before you type even one word, think: what kind of image do you want? Some questions to consider:
- Realistic photograph, stylized digital art, illustration, or abstract/concept art?
- What’s the mood — bright and cheerful, moody and cinematic, minimalistic, surreal?
- What will the image be used for — social media, blog header, concept art, mood board, print design?
Having clarity helps you craft more precise prompts — and yields better results.
Gathering visual references can also help: mood boards, reference images, colour palettes — treat them like inspiration before you start.
Step 2: Craft Effective Prompts — The Key to Great Output
Think of the prompt as a recipe: the more detailed and vivid your instructions, the more likely the result will match your vision. Here are some guidelines that work well with Imagine AI:
- Be specific: instead of “a mountain”, say “a majestic snow-capped mountain range at sunrise, mist in the valleys, warm golden light.”
- Use descriptive adjectives: lighting (soft/rim/hard), atmosphere (foggy, dreamy, cinematic), colour vibes (neon, pastel, warm), textures (gritty, smooth, glossy).
- Specify style if needed: e.g. “digital painting”, “photorealistic photograph”, “cyberpunk illustration”, “surreal art”, etc.
- Don’t be afraid to iterate: small tweaks to wording can produce very different visuals.
Examples of effective prompts:
- “A hyper-realistic portrait of an old fisherman with deep wrinkles, holding a lantern, standing on a foggy dock at dawn — dramatic lighting, cinematic colour grading.”
- “Whimsical fantasy forest, glowing bioluminescent plants, floating lights, soft pastel colours, concept-art style.”
- “Retro-futuristic neon city skyline at night, rainy streets, reflections, cinematic mood, 4K resolution.”
Step 3: Use Advanced Features — Unlock More Creative Control
Once you get comfortable with prompts, dive into Imagine AI’s advanced capabilities to push your creativity further.
- Negative prompts: Tell the AI what you don’t want — e.g. “no text”, “no blur”, “no watermark”, “no extra objects”. Great to avoid unwanted artifacts.
- Seed variation: Use different “seed values” to generate multiple unique variants from the same prompt — ideal for exploring visual ideas.
- Image-to-image remix: Upload an existing image (your own photo or stock image) and ask the AI to re-style it — useful for branding, mood boards, or reinterpretation.
Step 4: Optimize Workflow — Efficiency & Consistency Matter
- Batch generation: Rather than generating one image at a time, produce many variations at once to compare and select the best.
- Organize your workspace: Keep a folder structure — raw prompts, exported images, favorite variations, reference boards. This keeps things manageable when you scale up.
- Refine in post-processing if needed: Sometimes small manual edits (cropping, colour correction, layering) after generation help polish the final result.
When Imagine AI Is a Great Fit – and When It Might Not Be
Best for:
- Blog or social media creators needing fresh visuals quickly
- Artists seeking inspiration, concept art, mood boards
- Marketers & small businesses without design resources
- Anyone wanting customizable, unique art without traditional design skills
Maybe not ideal if:
- You need extremely realistic photos for print or professional use
- You require full control over every pixel (AI may introduce artifacts)
- You rely on brand-consistent visual identity and require manual design oversight
Final Thoughts — Imagine AI Is Your Creative Shortcut
With a few well-crafted prompts and a bit of experimentation, Imagine AI can produce remarkable images — from photo-realism to stylized art — in minutes.
It doesn’t replace professional graphic design or photography completely, but it offers a fast, affordable, and fun alternative for generating images when time, budget, or skills are limited.
Treat Imagine AI as a creative assistant: give it good instructions, explore, iterate — and you’ll be amazed what you can create.